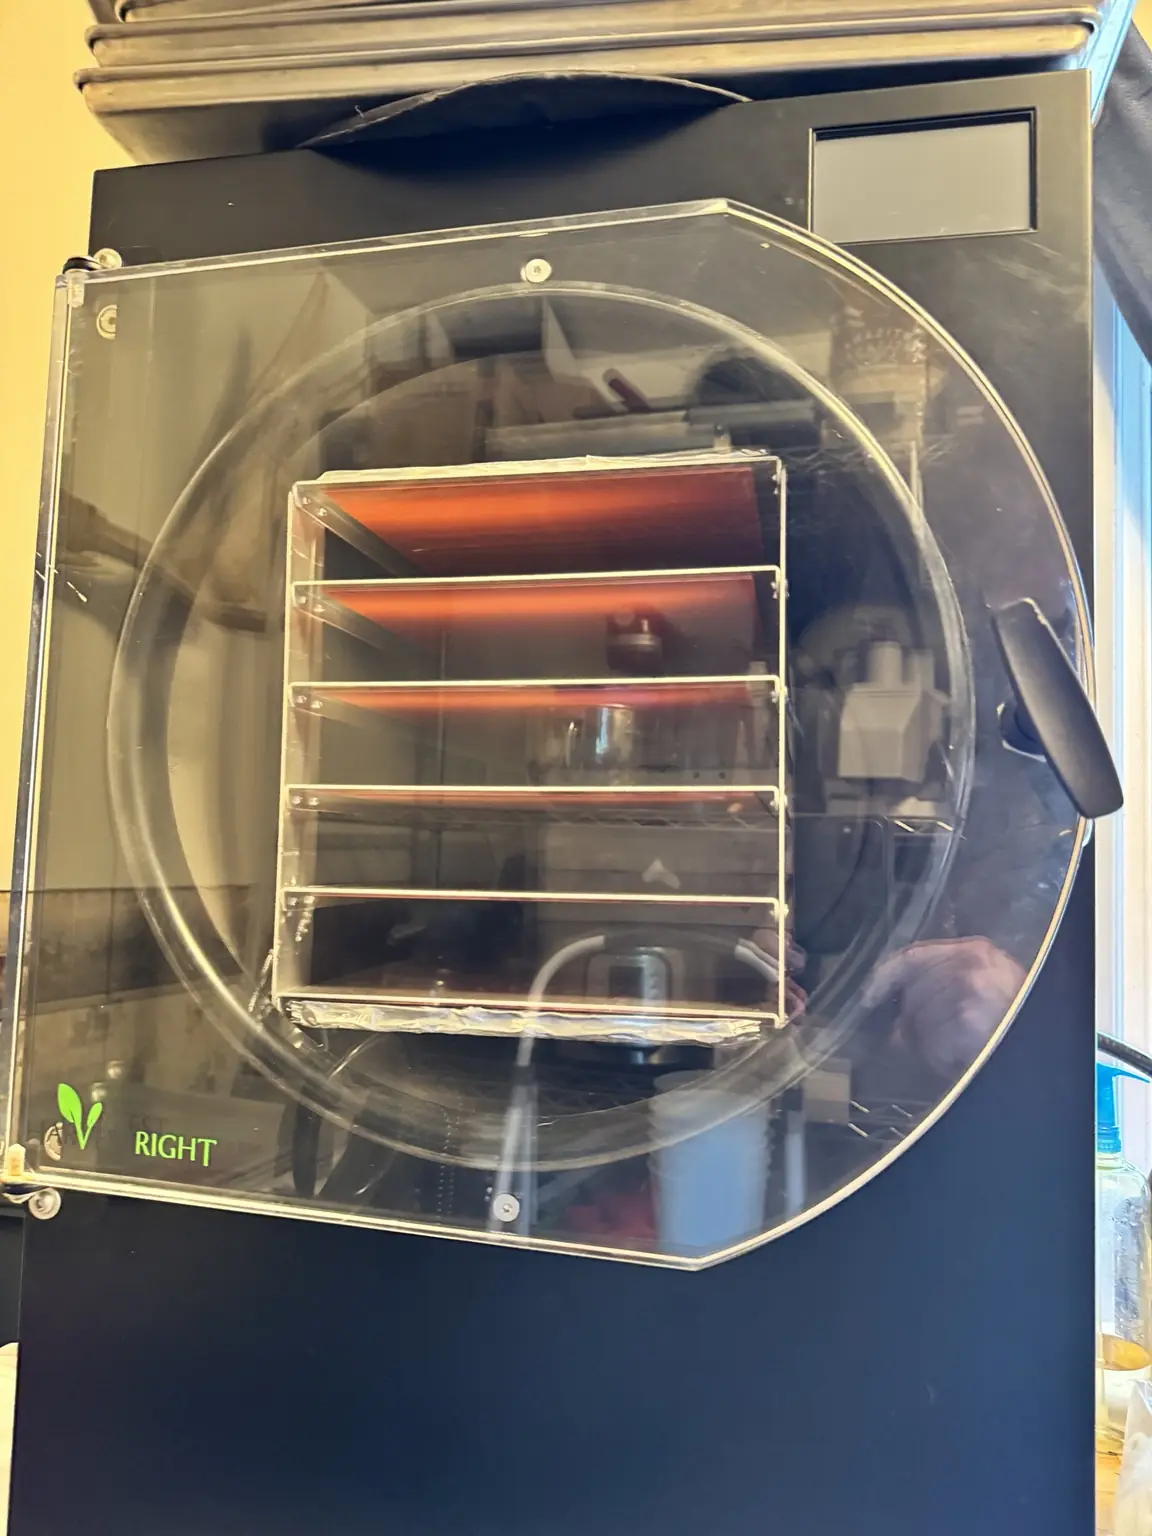
Harvest Right freeze dryer chamber during vacuum-system diagnosis
← Back to all projects

Complete diagnostic case study

A long vacuum problem—traced to the leak that mattered.

A real Harvest Right repair journey through pump comparisons, chamber and seal checks, sensor-system work, control verification, ultrasonic leak detection, and a measured vacuum recovery.

Diagnostic approach

Each theory tested before moving to the next.

Vacuum problems can come from several systems that affect one another. The goal was not to keep replacing parts until something changed; it was to compare repeatable tests, separate the pump and sensor behavior from true leakage, and keep narrowing the problem until the remaining fault could be demonstrated.

Equipment
Harvest Right home freeze dryer
Diagnostic path
Mechanical, electrical, sensor, pump, and leak testing
Verified vacuum
Approximately 303 mTorr after repair
01

Establishing a repeatable vacuum baseline

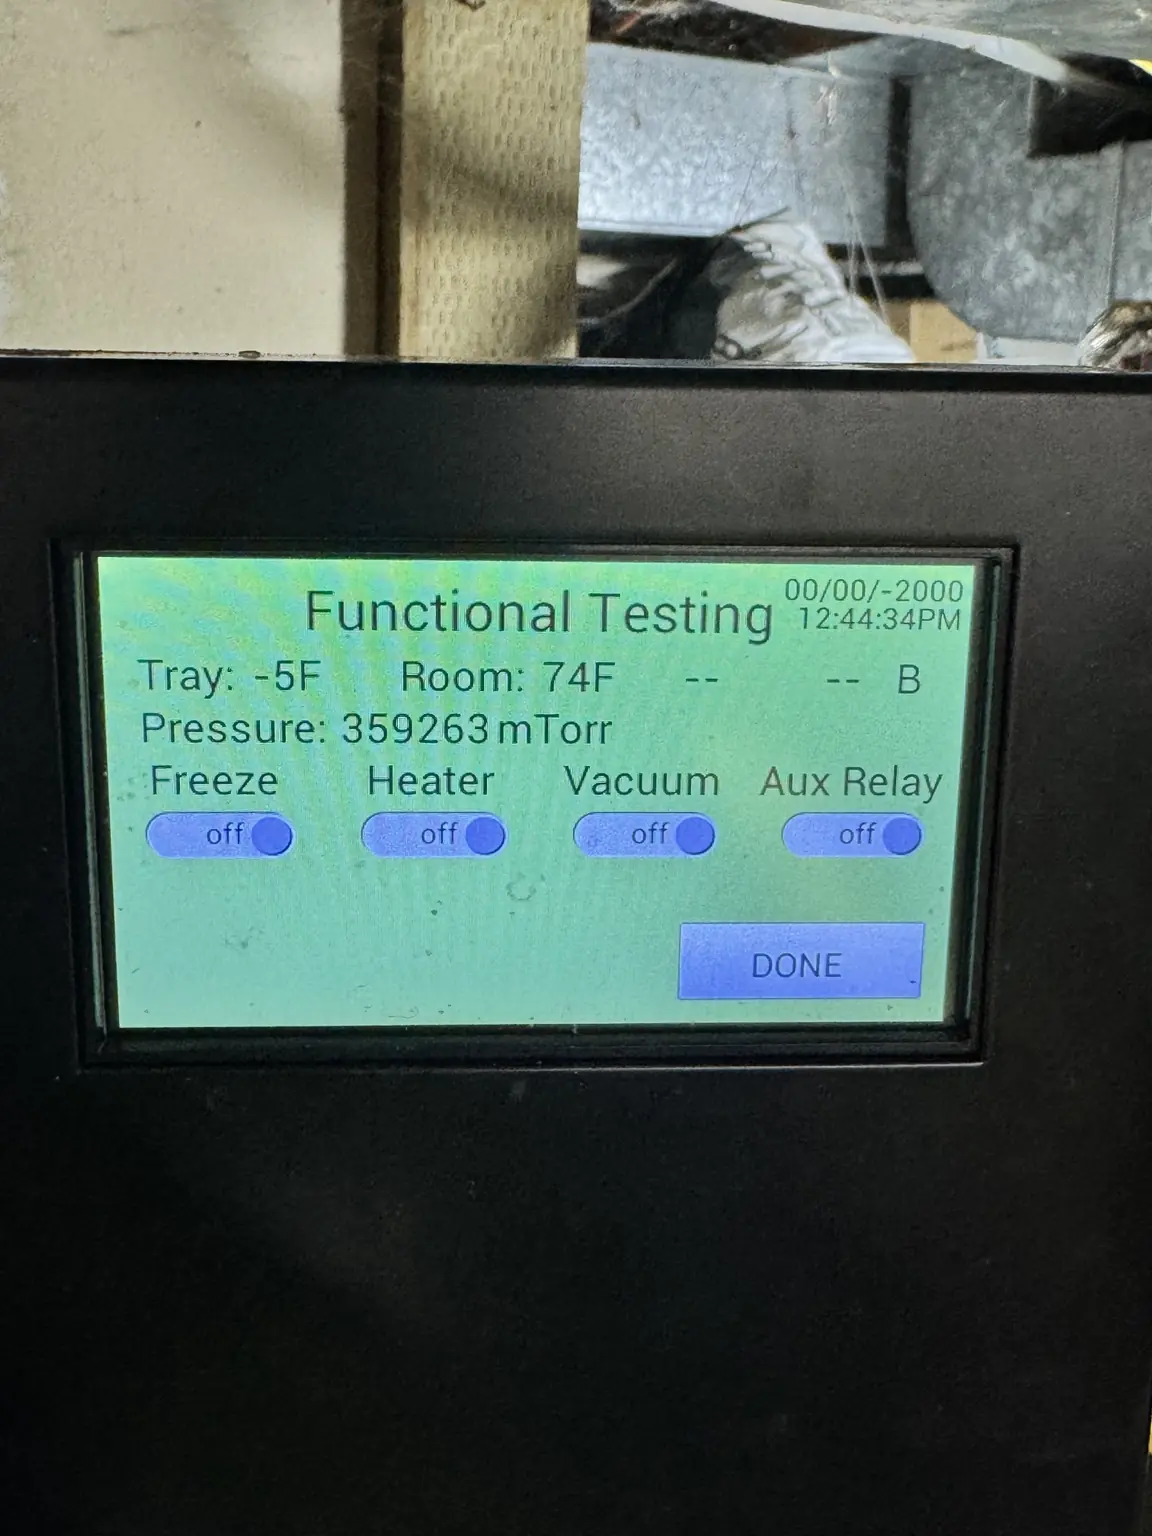
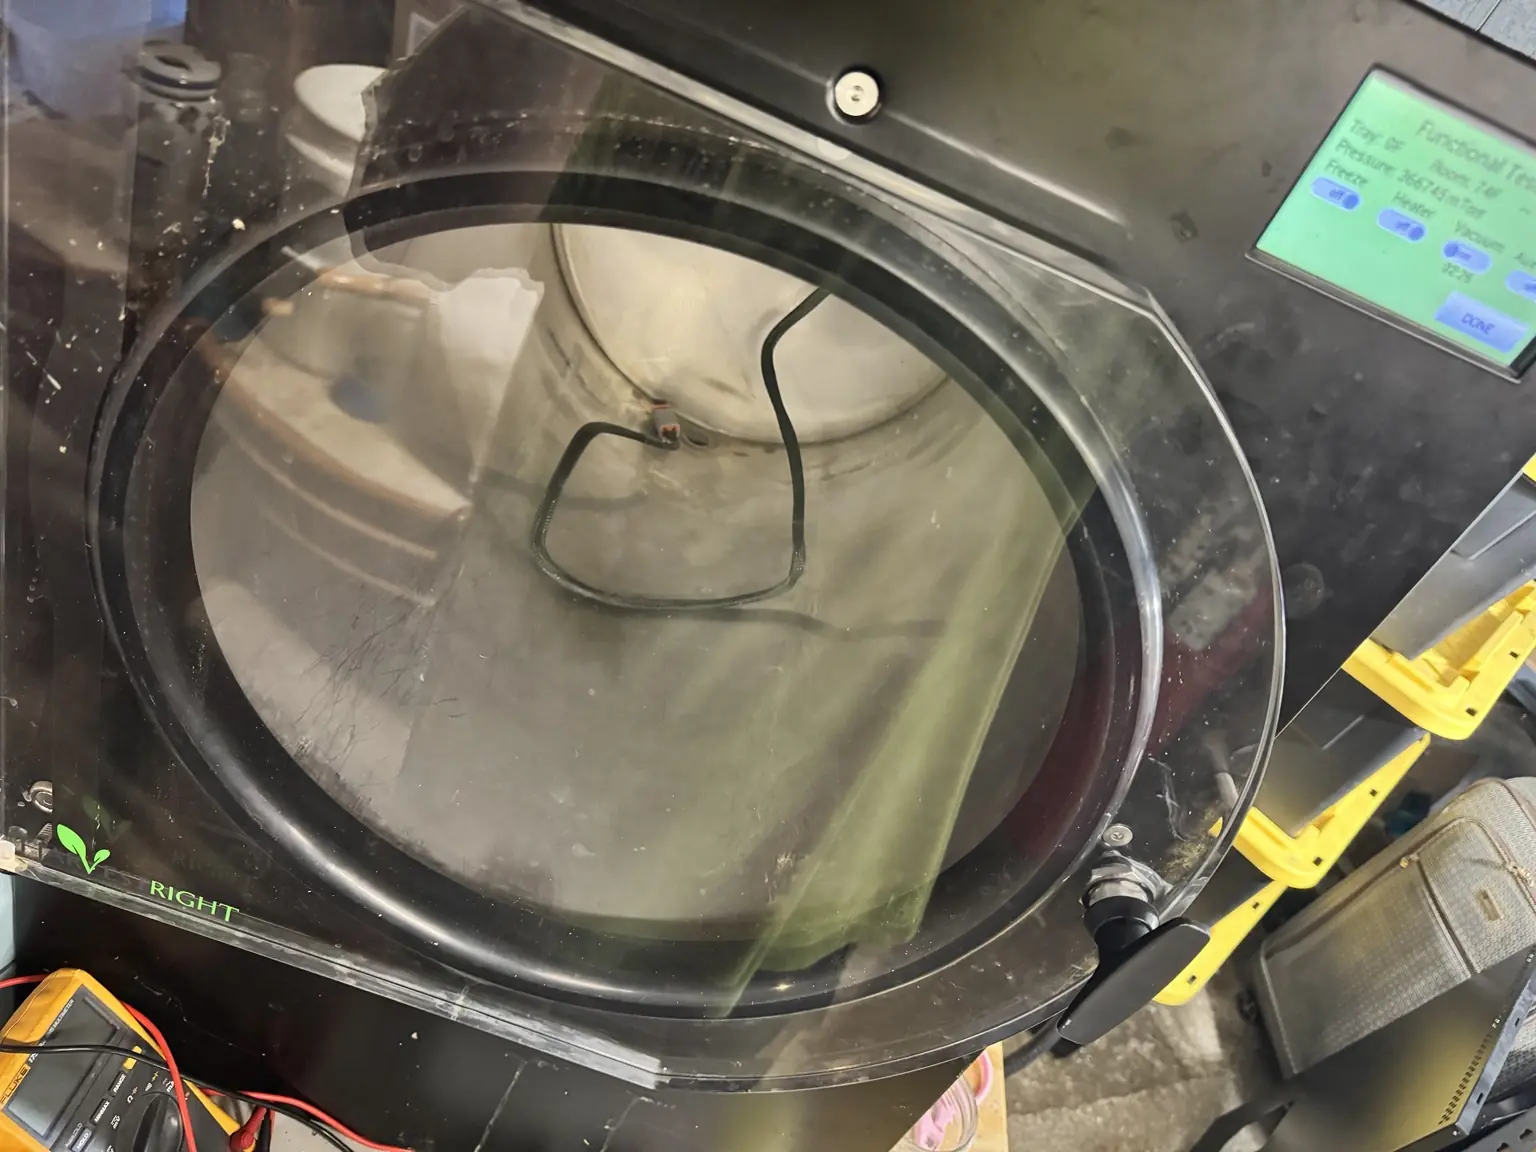
The machine would run, but it could not pull down to a usable vacuum consistently. Functional tests, chamber checks, door and seal adjustments, and repeated pressure observations established what changed—and what did not—before more parts were replaced.
02

Working through the sensor and control path

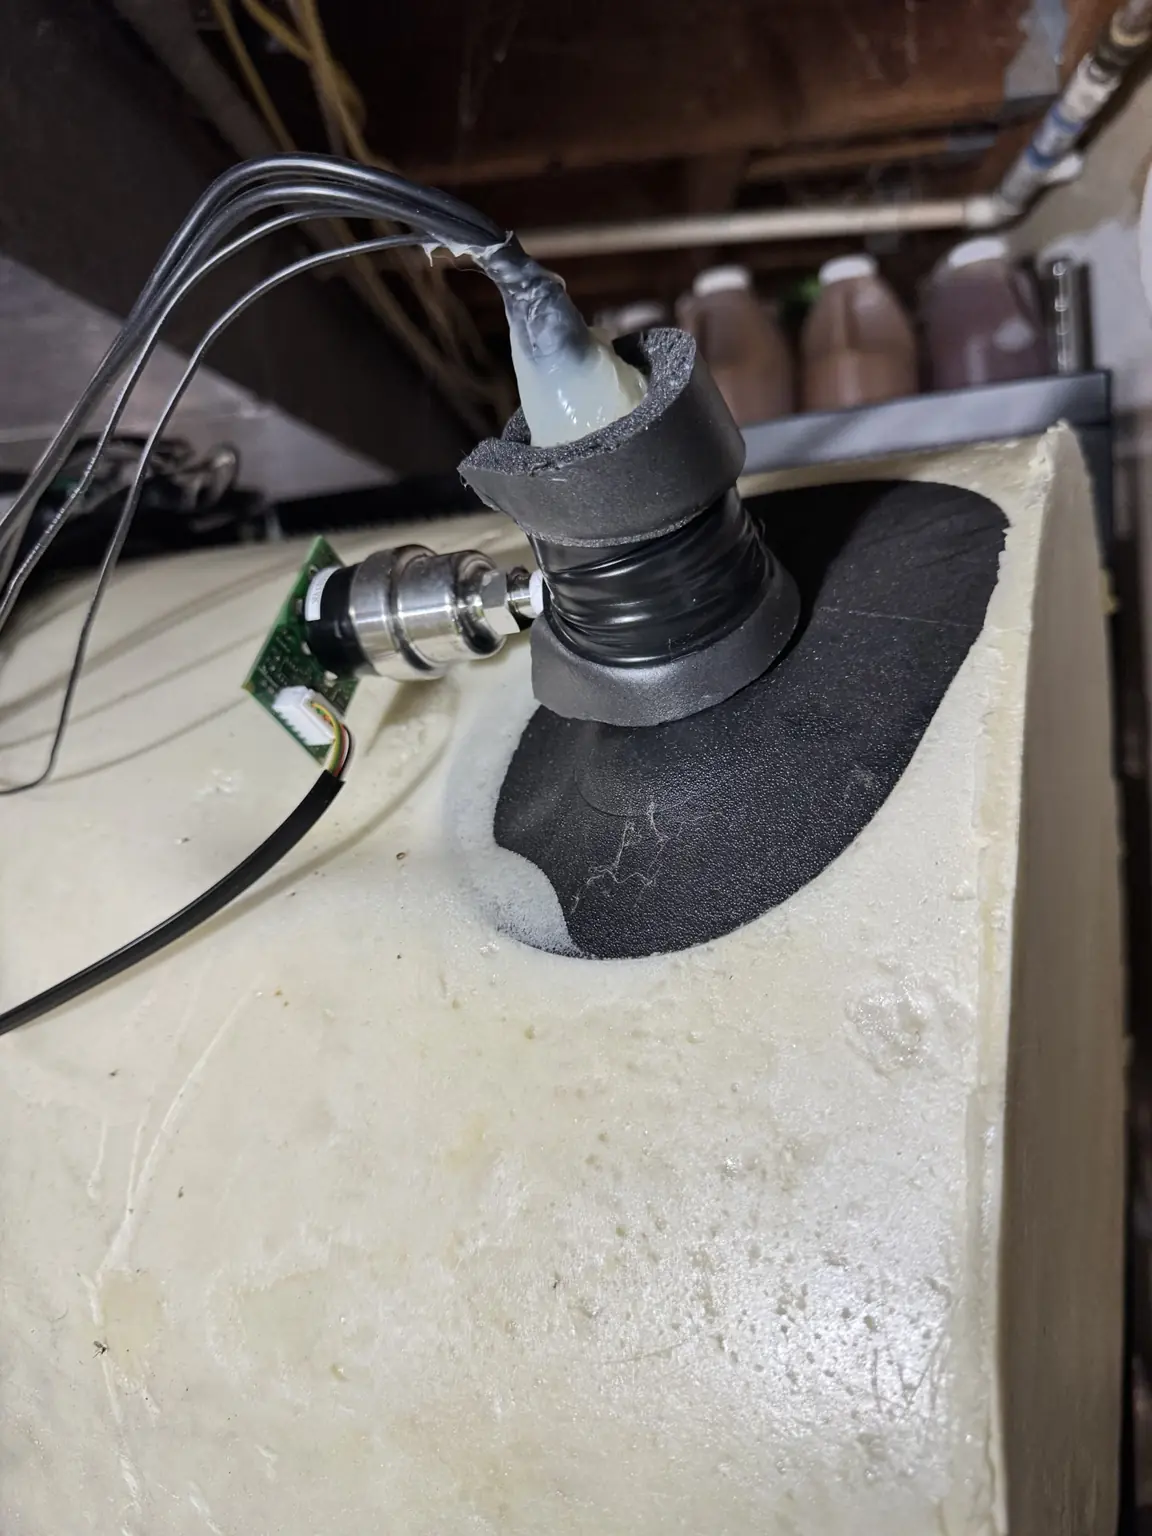
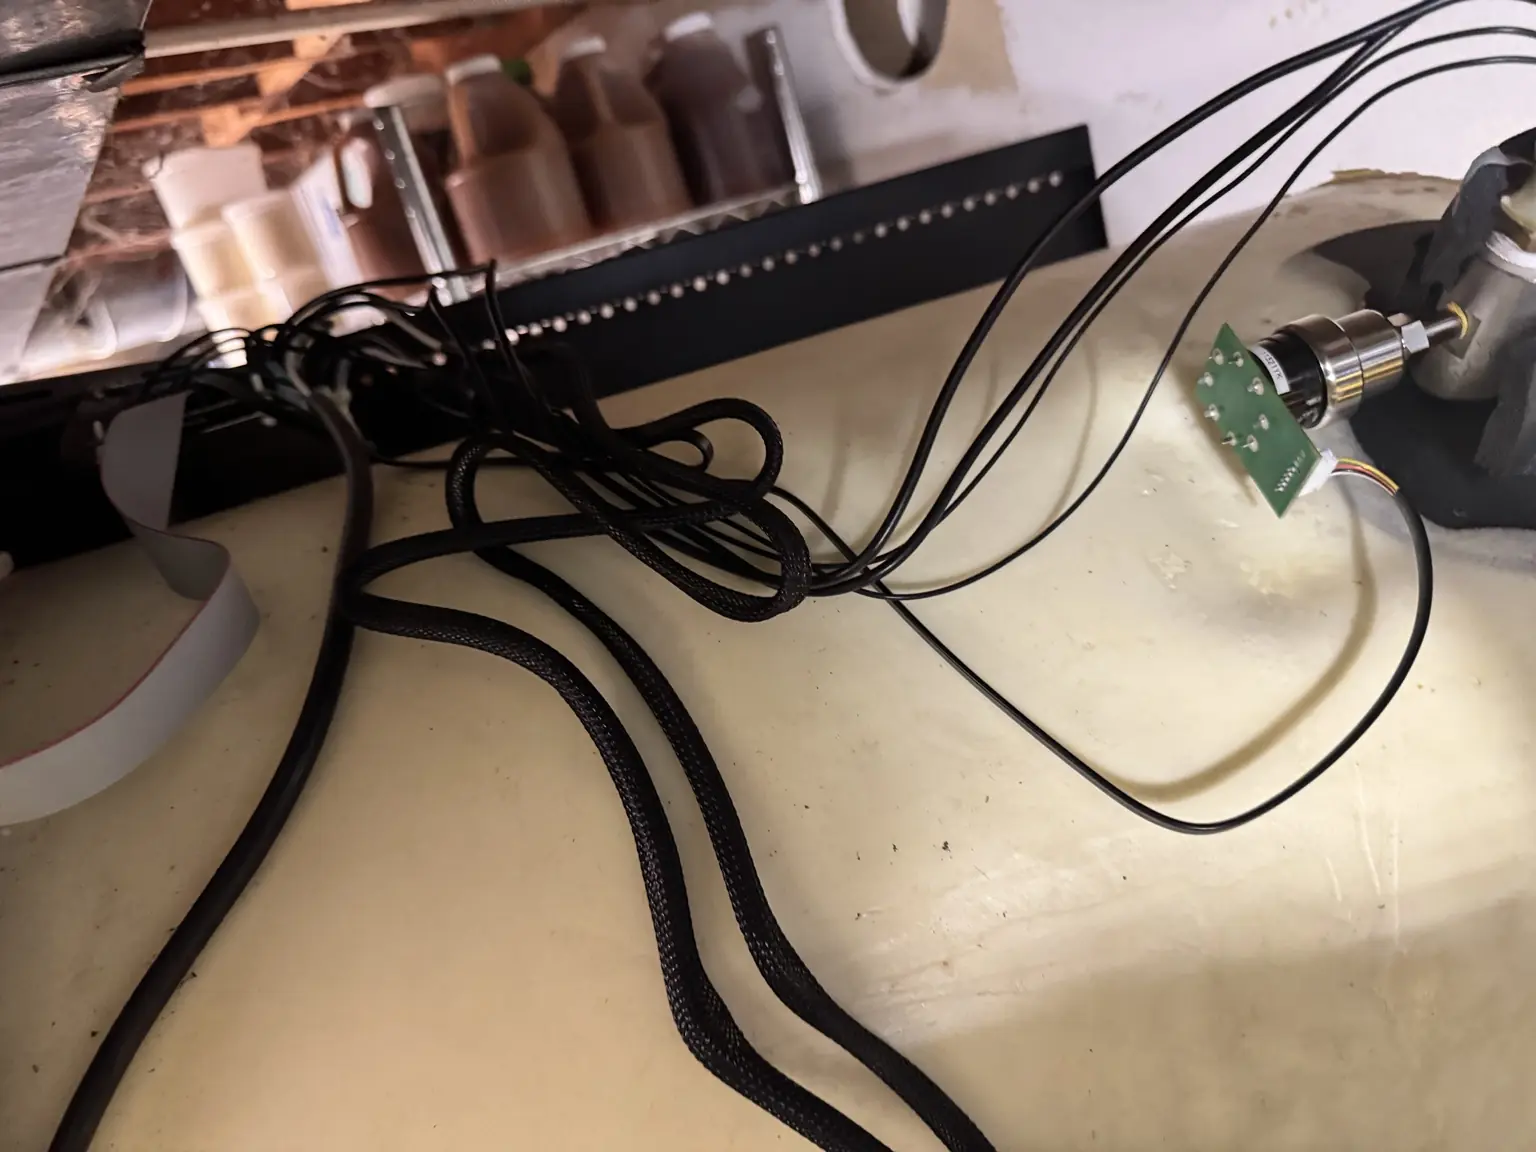
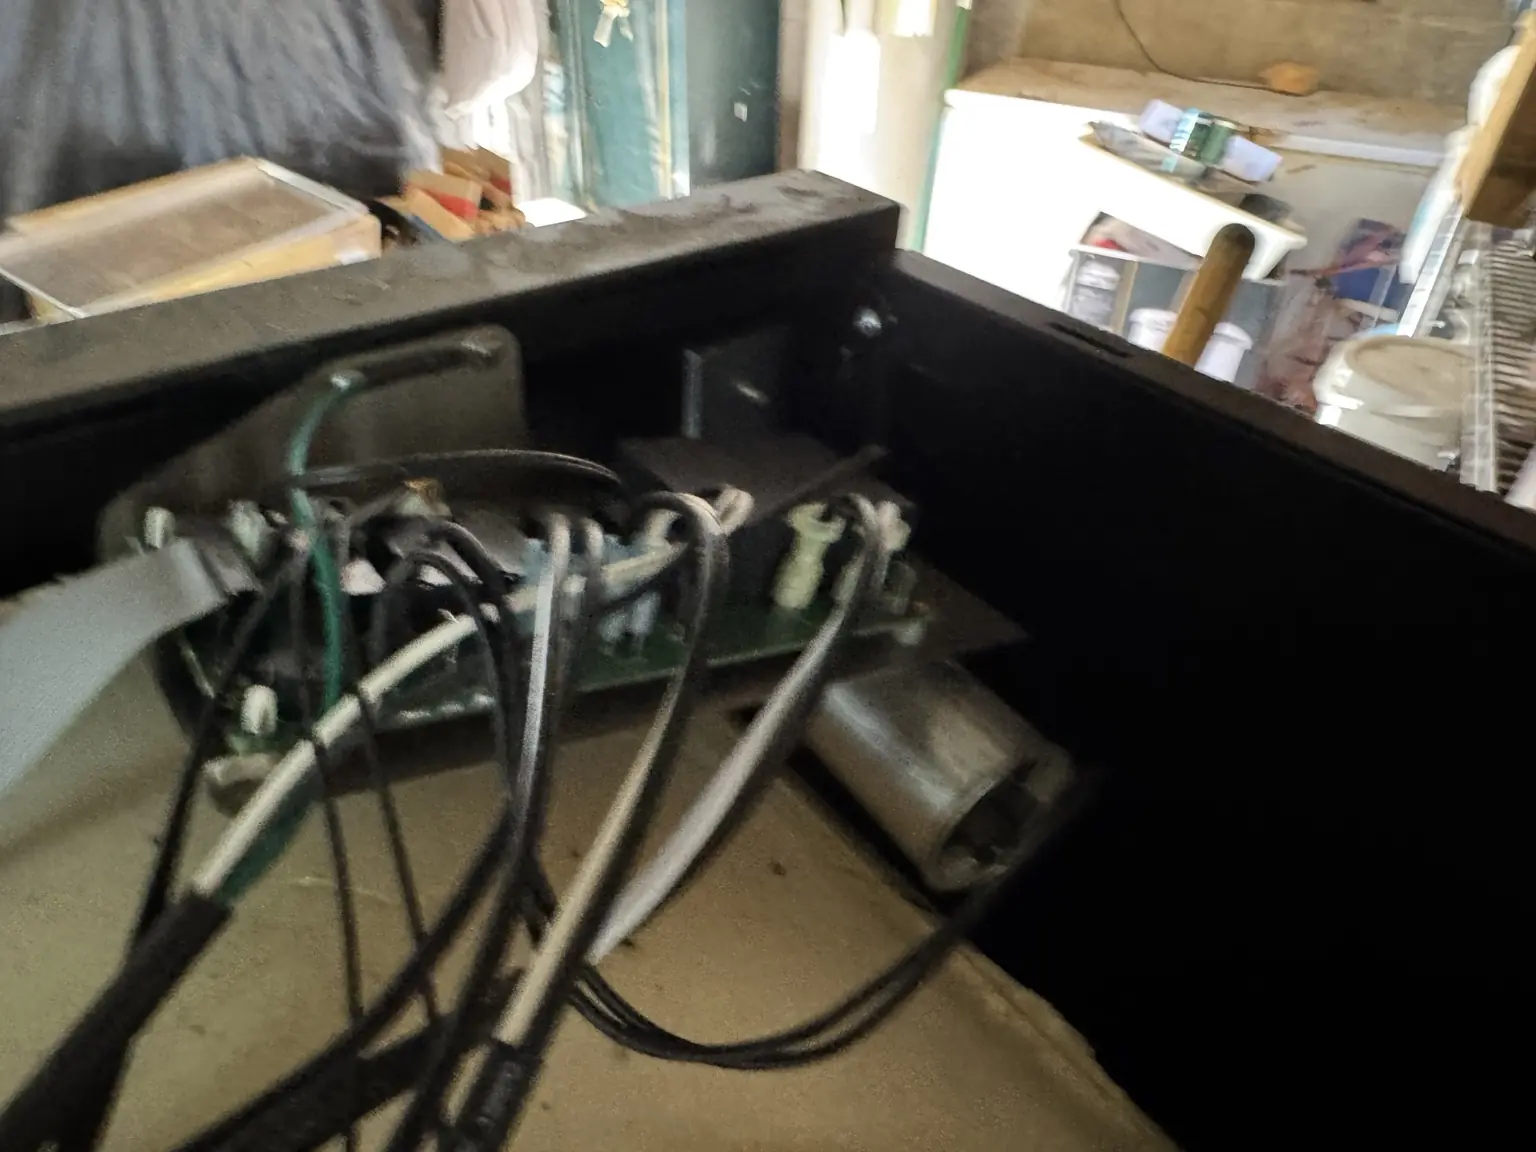
The diagnosis moved through the vacuum-sensing system instead of assuming every pressure reading was trustworthy. The sensor, small sensor board, connecting cable, and related control wiring were inspected and replaced where needed, then the machine was retested to compare its behavior.

03

Comparing pumps instead of guessing

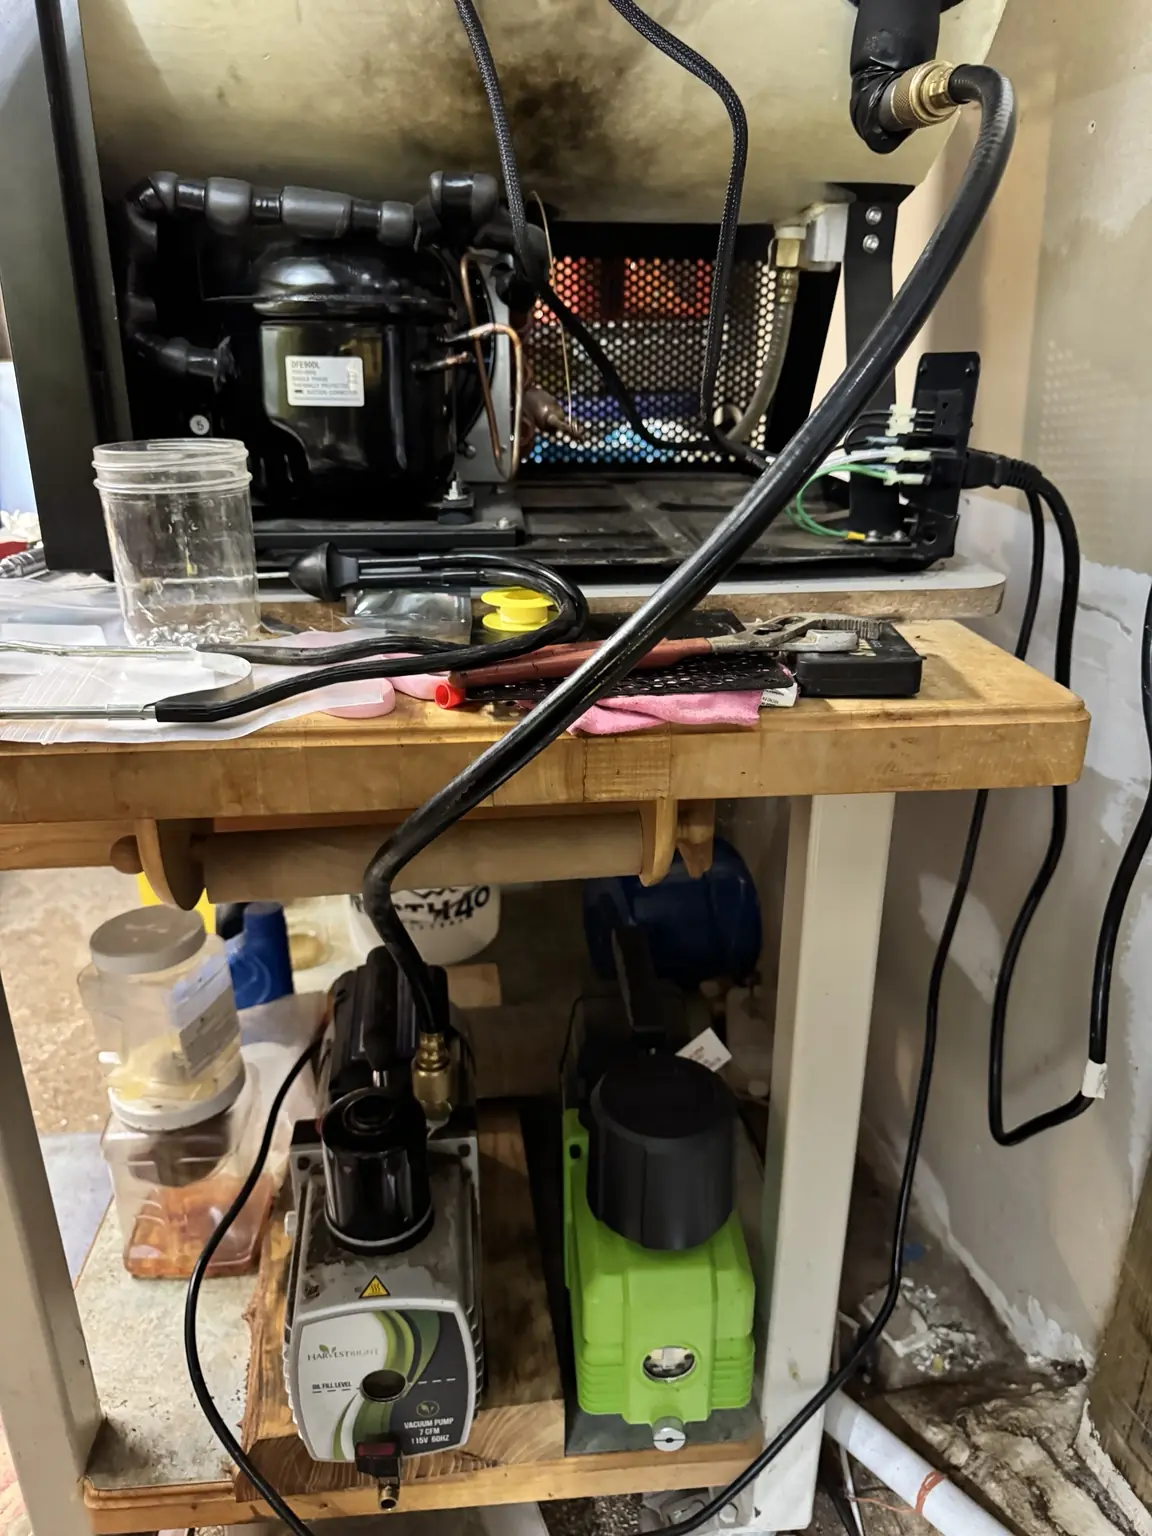
Available vacuum pumps were compared under repeatable conditions. That helped separate pump performance from the machine-side problem and showed that another leak path still had to be found even after the sensing system was addressed.

04

Finding the leak the earlier checks missed

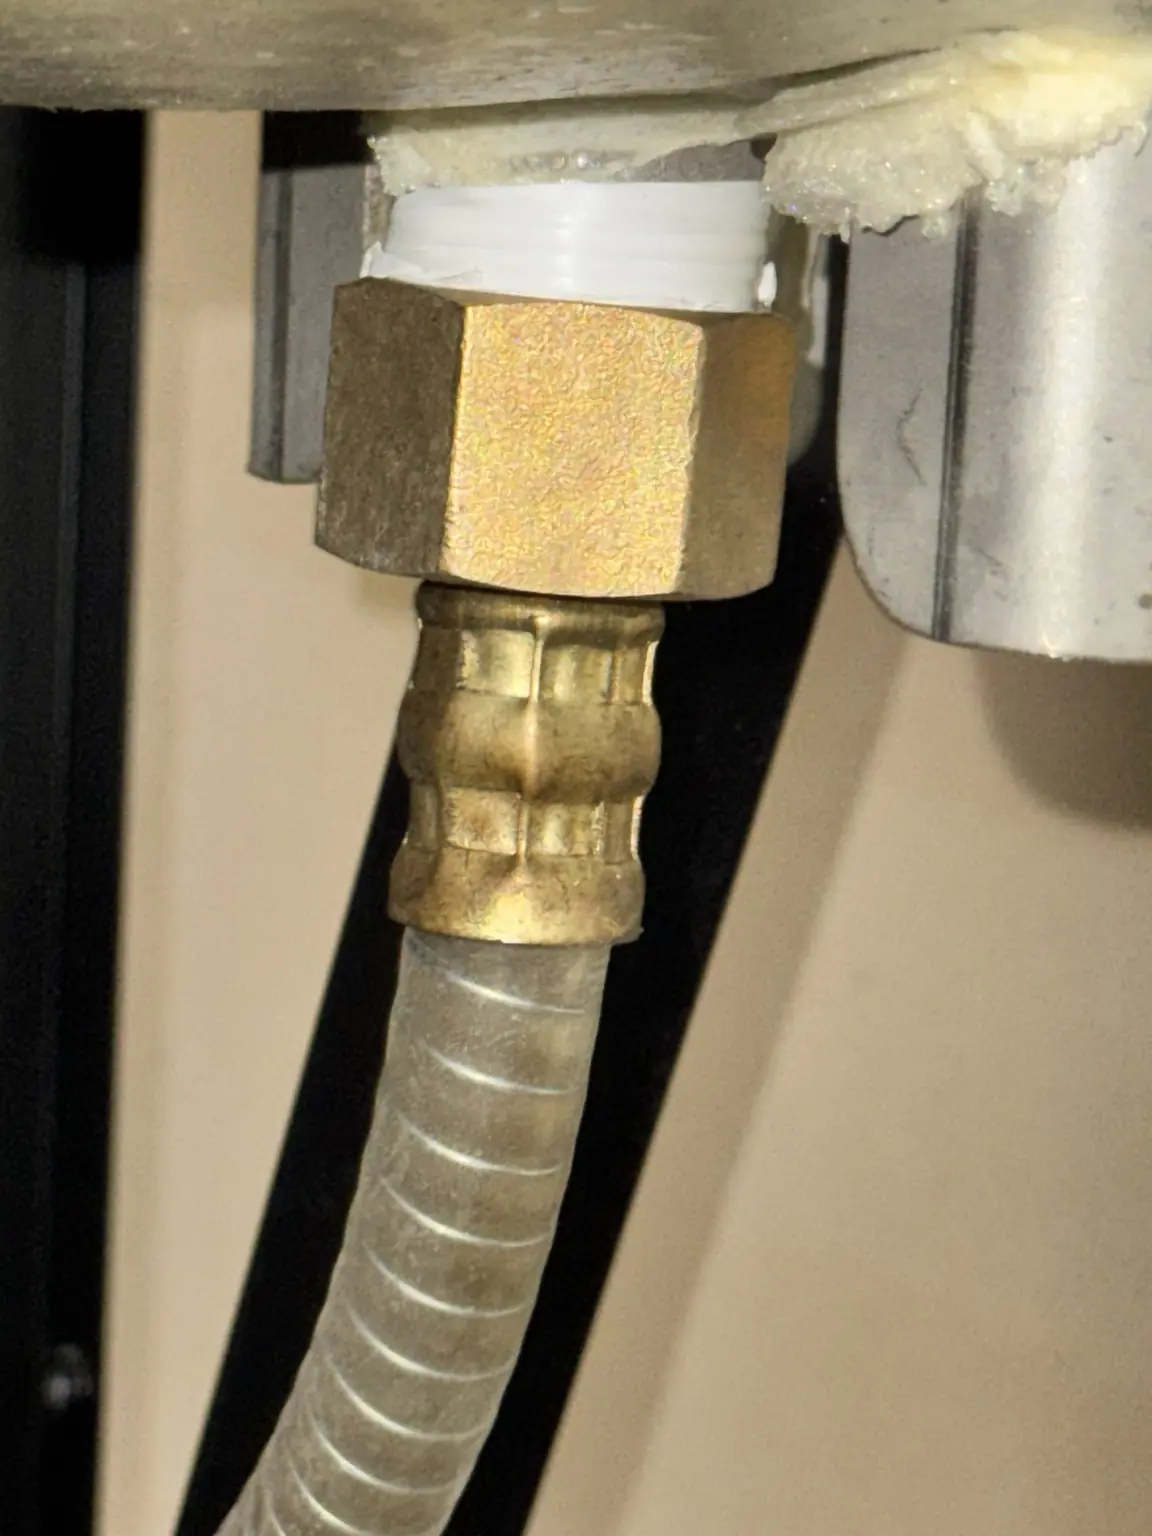
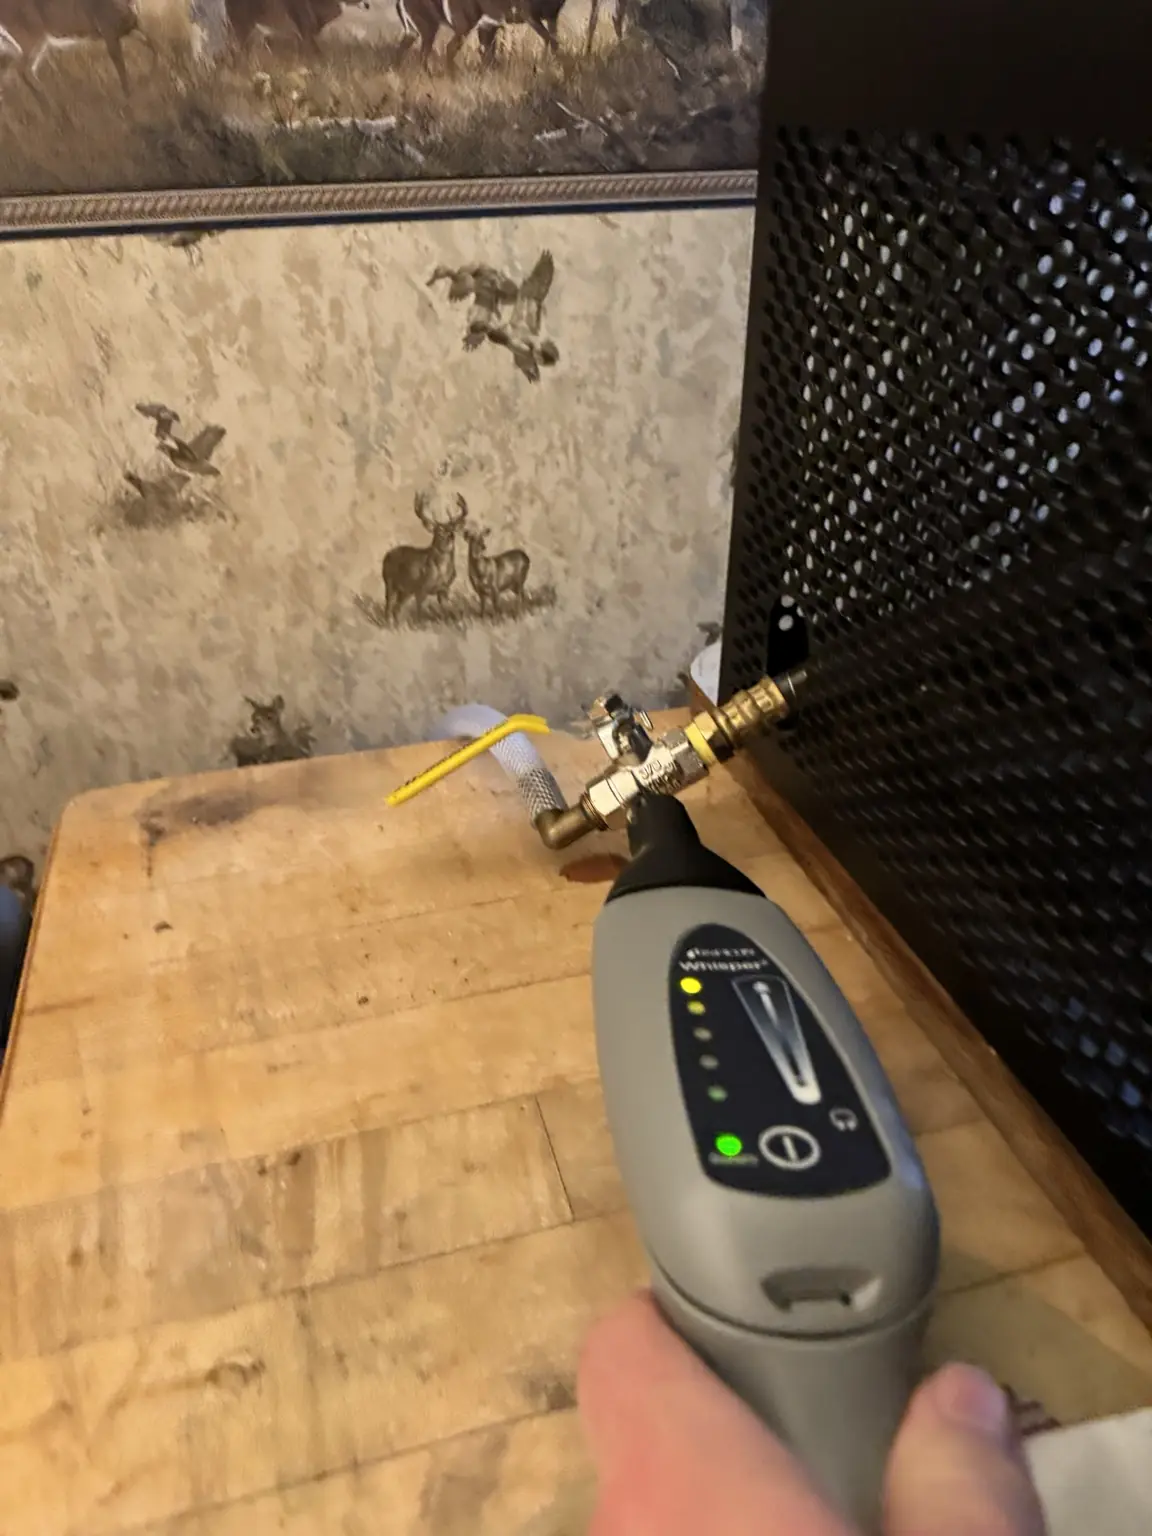
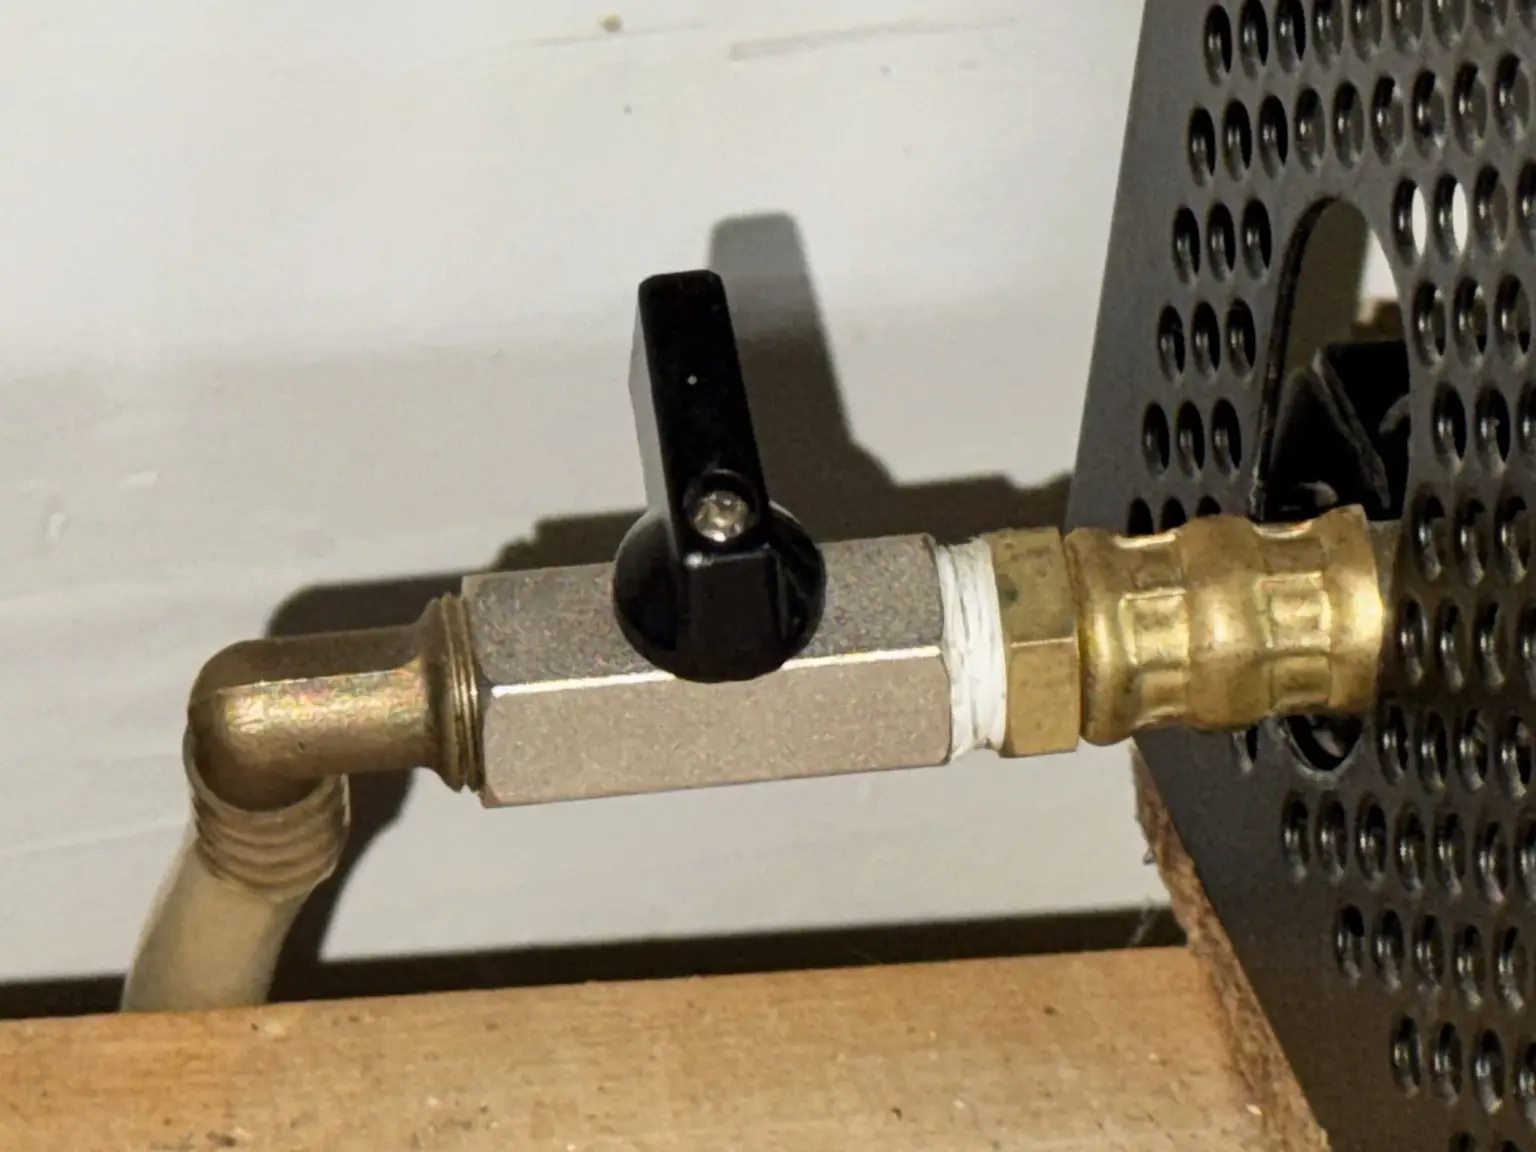
The remaining breakthrough came from ultrasonic leak detection. Testing around the machine identified a substantial leak at the drain assembly, where the drain hose was damaged and the ball-valve area was no longer sealing well enough for deep vacuum.

05

Repairing the drain path and verifying recovery

The damaged hose and leaking valve were replaced with a heavier-duty drain arrangement. On the following test, the chamber reached roughly 450 mTorr in about 13 minutes and continued down to approximately 303 mTorr—a decisive improvement over the earlier readings in the tens of thousands.

Finished result

A high-value machine restored through measured diagnosis.

The repaired drain path brought the chamber back into a useful deep-vacuum range. Just as important, the long sequence of tests produced a defensible answer about what had failed instead of leaving the machine dependent on guesswork.

Have equipment that is worth diagnosing before replacing?Share the model, symptoms, repair history, and any photos or readings you already have. Select equipment is accepted case by case.